Now Reading: Step-by-Step Guide to Opening a Bank Account in Nigeria
1
-
01
Step-by-Step Guide to Opening a Bank Account in Nigeria

A bank account is essential for saving money, receiving payments, and carrying out transactions in Nigeria’s cashless economy. Whether you’re a student, worker, or business owner, opening an account is straightforward if you know the process.
Here’s a step-by-step guide to opening a bank account in Nigeria.
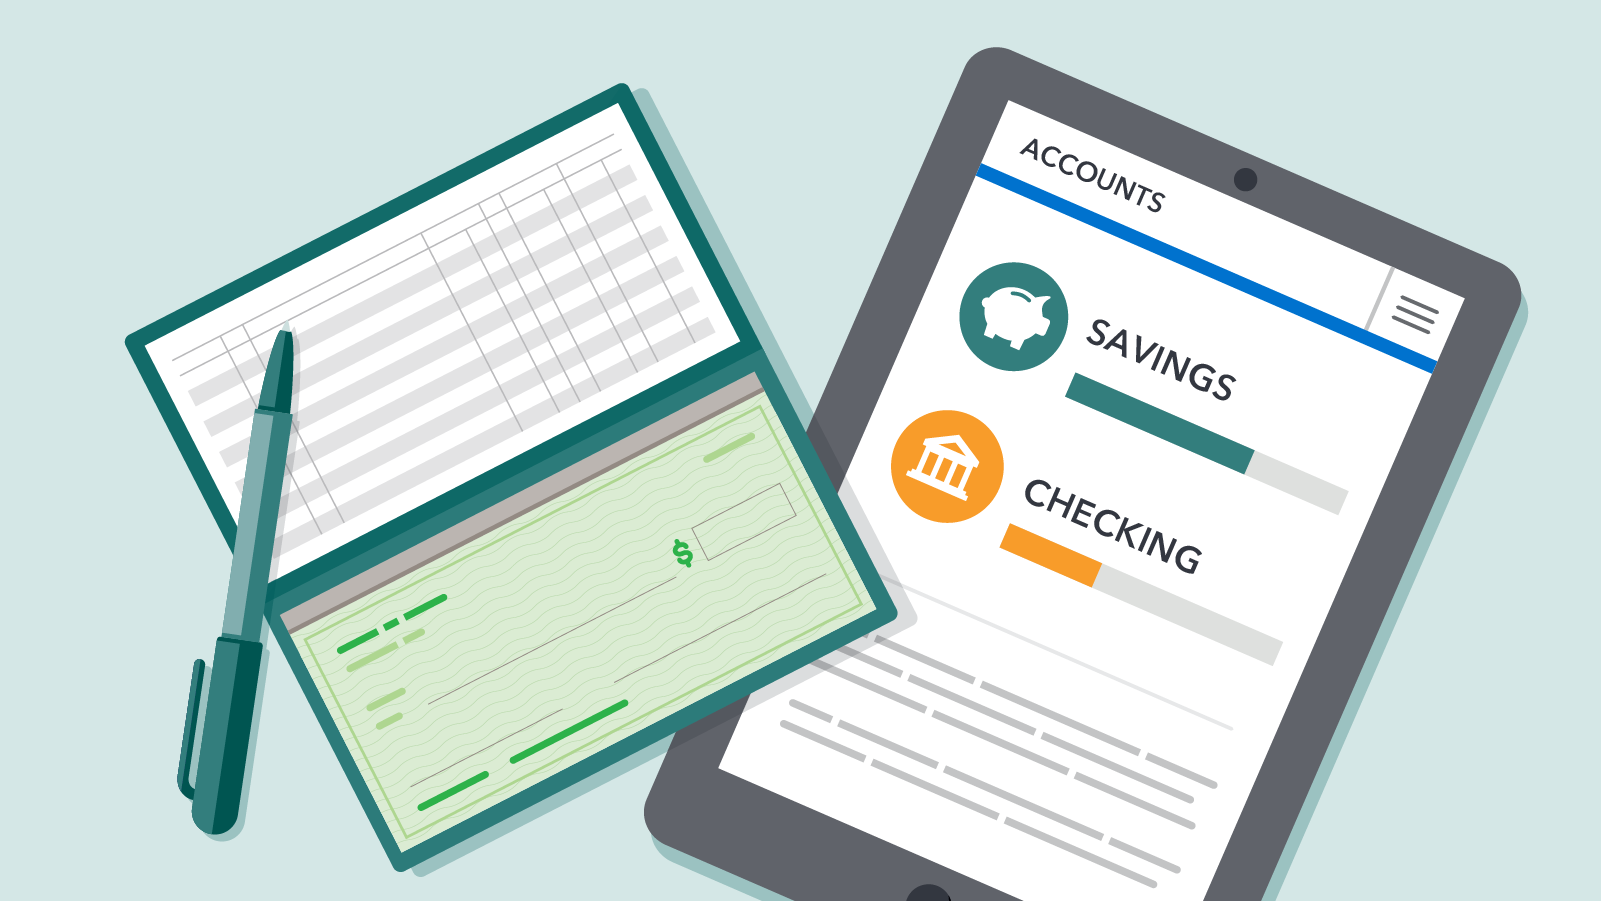
📌 Step 1: Choose the Type of Bank Account
Banks in Nigeria offer different account types. Common ones include:
- Savings Account – for everyday use, limited withdrawals, low opening balance.
- Current Account – for businesses and professionals, allows frequent transactions, requires more documentation.
- Domiciliary Account – allows transactions in foreign currencies (USD, GBP, EUR).
- Student/Youth Accounts – designed for young people, often with fewer requirements.
💡 Choose based on your needs.
📌 Step 2: Select a Bank
Popular banks in Nigeria include:
- Access Bank
- Zenith Bank
- GTBank
- First Bank
- UBA
- Polaris, Fidelity, Union Bank, etc.
✅ Compare charges, digital services (mobile apps, USSD), and branch availability before choosing.
📌 Step 3: Gather Required Documents
The standard requirements are:
- Valid ID (National ID/NIN slip, International Passport, Driver’s License, or Voter’s Card).
- Passport Photograph(s).
- Utility Bill (electricity, water, or rent receipt not older than 3 months) as proof of address.
- BVN (Bank Verification Number) – if you don’t have one, the bank will help you register.
For current accounts, additional documents like reference letters from existing account holders may be required.
📌 Step 4: Visit the Bank or Open Online
- Go to the nearest branch of your chosen bank.
- Some banks (GTBank, Access, Kuda, Opay) allow you to start the process online or via mobile app.
- Fill in the account opening form with accurate details.
📌 Step 5: Submit Documents and Complete BVN
- Present your documents to the bank officer.
- If you don’t already have a BVN, you will be registered on the spot (biometric capture of fingerprints and photo).
📌 Step 6: Make the Initial Deposit
- Some banks require a small opening deposit (₦1,000–₦5,000 for savings accounts).
- Student/youth accounts may have no opening balance.
📌 Step 7: Receive Your Account Number & Details
- Once approved, you’ll get your account number immediately or via SMS/email.
- You can now start receiving and sending money.
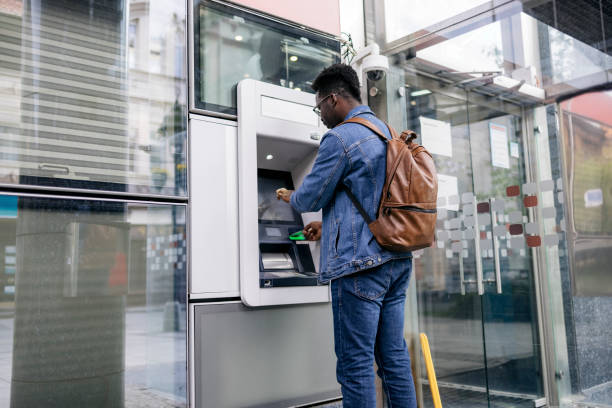
📌 Step 8: Collect Your ATM/Debit Card & Activate Mobile Banking
- Within a few days, pick up your ATM card from the bank (or request delivery).
- Activate it at the ATM or via the bank app.
- Download the bank’s mobile app and register for easy online transactions.
✅ Final Tips
- Always provide accurate details — false information can get your account frozen.
- Keep your BVN safe — it’s linked to all your accounts.
- Use internet banking and mobile apps to save time.
- Compare bank charges (SMS alerts, transfer fees) to find the best fit for your needs.


Related Posts


Stay Informed With the Latest & Most Important News
Previous Post
Next Post
Advertisement

Donations


Loading Next Post...


